Category
Popular
-
 Lenovo Neckband Bluetooth Headset
₨ 2,000₨ 1,499 -
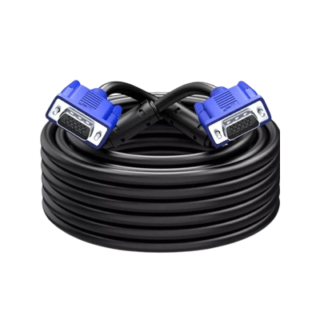 VGA Cable-15m Computer Cable
₨ 2,000₨ 1,799 -
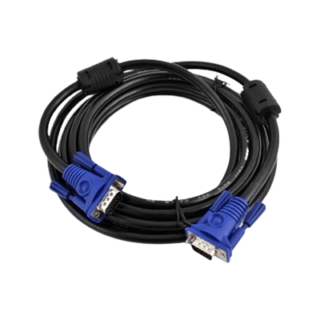 VGA Cable 10m-Computer cable
₨ 1,400₨ 1,199 -
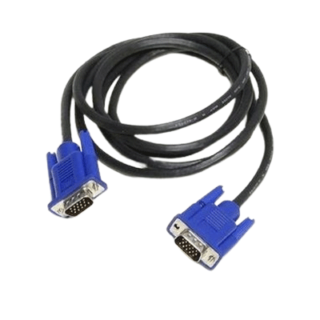 VGA Cable 5M–Computer Cable
₨ 1,000₨ 799 -
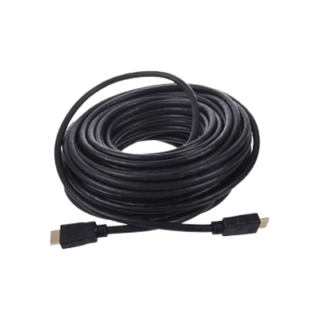 HDMI Cable 20 Meter High Speed with Ethernet Support HD
₨ 2,700₨ 2,499

Recent Comments
No comments to show.
Before you begin:
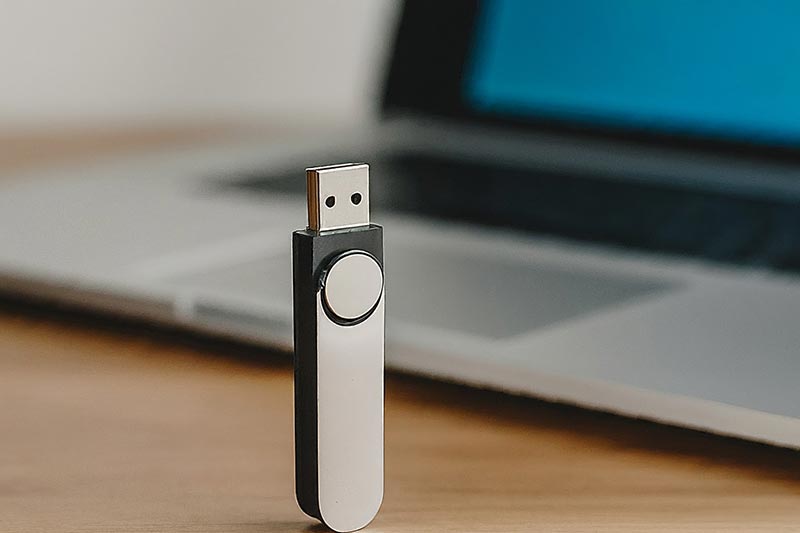
- Ensure you have a USB drive with at least 8GB of storage space. Formatting will erase all data on the drive, so back up any important files beforehand.
- Download the latest version of Rufus from the official website: https://rufus.ie/
- You’ll also need a Windows ISO file, which you can obtain legally through Microsoft’s Media Creation Tool or other authorized sources.
Instructions:
- Run Rufus: Double-click the downloaded Rufus executable file. No installation is required.
- Select your USB drive: In the “Device” dropdown menu, choose the USB drive you want to make bootable. Make sure you select the correct drive!
- Partition scheme and Target system type:
- Under “Partition scheme and target system type,” choose either:
- GPT for UEFI systems (recommended for most modern systems)
- MBR for BIOS or UEFI systems (older systems or if unsure)
- Under “Partition scheme and target system type,” choose either:
- New file system and cluster size:
- Under “New file system and cluster size,” select:
- File system: NTFS (default)
- Cluster size: Leave as default (usually 4096)
- Under “New file system and cluster size,” select:
- Format options:
- Check the “Create extended label and partition” box.
- You can set a custom volume label if desired, but leaving it default is fine.
- Select your Windows ISO:
- Click the “Select” button next to “Boot selection.”
- Choose the downloaded Windows ISO file.
- Optional: Check “Advanced download options” if you want to customize your image download (not necessary for basic installation).
- Start the creation process:
- Click the “Start” button.
- Warning: This will erase all data on the USB drive! Confirm if you’re ready to proceed.
- The creation process might take some time.
- Wait for completion:
- Leave your computer running and don’t remove the USB drive while Rufus is working.
- Once completed, you’ll receive a success message.
- Your bootable USB is ready!
Using your bootable USB to install Windows:
- Connect the USB drive to the target computer.
- Boot the computer: Most computers allow you to select the boot device during startup. This is usually done by pressing a specific key during the boot process (e.g., F12, Esc). Refer to your computer’s manual for instructions.
- Follow the on-screen instructions: The Windows installation process will guide you through setting up your system.
Additional tips:
- Rufus offers advanced options for experienced users. However, the default settings should suffice for most situations.
- Ensure the target computer meets the system requirements for the Windows version you’re installing.
- Make sure you have your product key (if applicable) for activating Windows during the installation process.
